There’s something incredibly comforting about the smell of fresh bread wafting through the kitchen. For many of us, it instantly brings back warm memories of childhood, family gatherings, or simply those moments when fresh bread on the table meant love and care in every bite. Today, I want to share with you one of Oma’s most treasured quick bread recipes – her Buttermilk Bread Rolls.
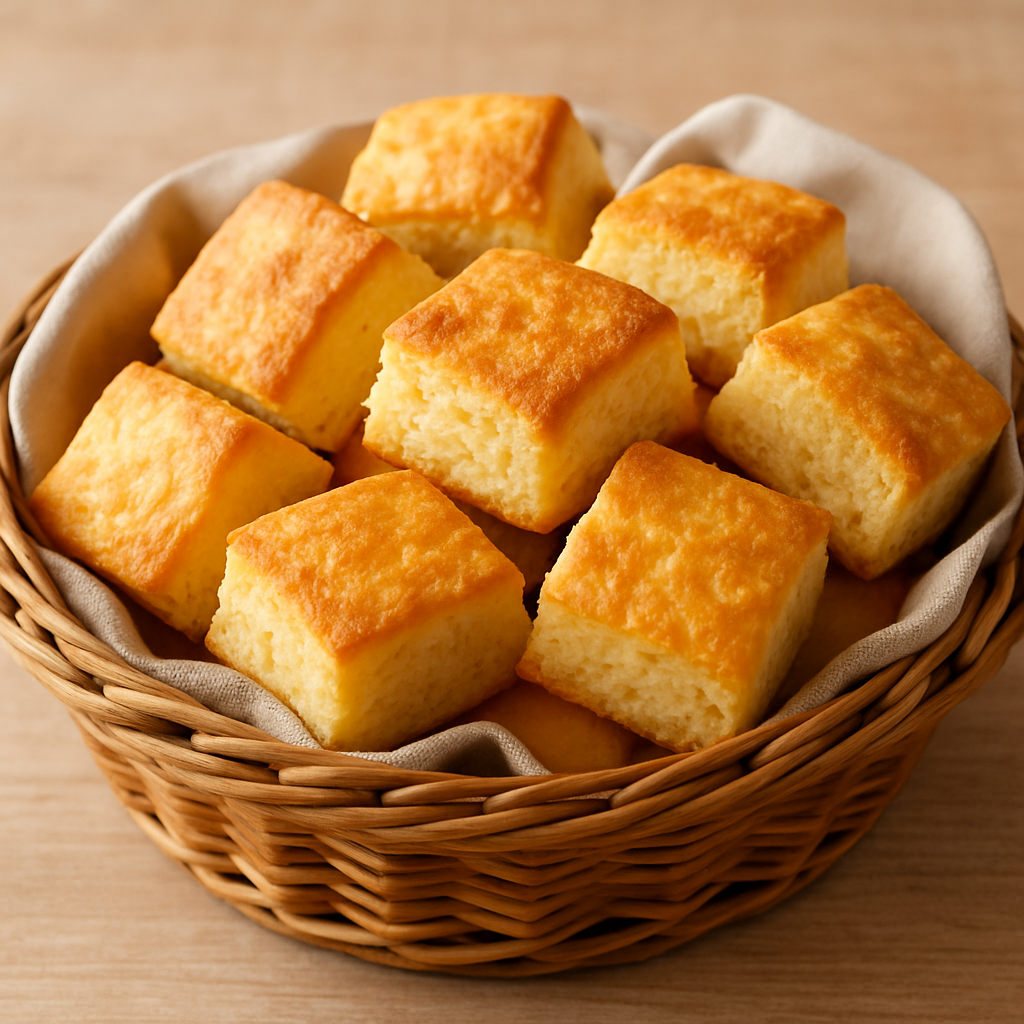
These rolls are not your typical long-rise bread. Instead, they’re the kind of recipe you can whip up quickly, with simple ingredients you probably already have in your kitchen. They’re soft on the inside, golden on the outside, and they’re baked in neat little squares – perfect for pulling apart and enjoying with soups, salads, or as a cosy snack with butter and jam.
The Charm of Buttermilk Rolls
Buttermilk is the magic ingredient in this recipe. It gives the rolls their signature soft texture and a slightly tangy flavour that balances beautifully with the light crust. If you’ve never baked with buttermilk before, you’ll notice how it makes doughs tender and adds that old-fashioned taste you might remember from your grandmother’s kitchen.
Another reason why I love these rolls is their simplicity. There’s no yeast, no kneading, and no waiting around for dough to rise. With baking powder as the leavening agent, you can go from mixing to baking in just a few minutes. That makes them perfect for busy weeknights, spontaneous guests, or when you simply crave fresh bread without the fuss.
How to Serve Them
The beauty of Oma’s Buttermilk Bread Rolls is their versatility. You can:
- Serve them warm from the oven with a pat of butter.
- Pair them with soups like potato soup, vegetable stew, or a hearty goulash.
- Split them and use them for little sandwiches.
- Enjoy them at breakfast with jam, honey, or cheese.
- Bring them to picnics or family gatherings in a basket – they always disappear fast!
Oma’s Kitchen Tip
Oma always reminded me: “Don’t worry if you don’t have buttermilk – make your own!”
Simply stir 1 teaspoon of lemon juice or vinegar into 250 ml of milk and let it rest for 5 minutes. The milk will curdle slightly, and voilà – homemade buttermilk ready for baking.
This little tip means you’ll never have to skip the recipe just because you didn’t plan ahead.
Why You’ll Love This Recipe
- Quick & easy: ready in about 30 minutes.
- Foolproof: no yeast, no long steps, great for beginners.
- Comforting: soft inside, lightly golden crust, perfect with any meal.
- Family-friendly: kids love the little square rolls, and adults appreciate the homemade touch.
Now let’s get to the recipe itself.
Buttermilk Bread Rolls
Ingredients
Method
- Place the flour, baking powder and salt into a large bowl and mix well. Add the margarine and rub in with your fingertips until the mixture resembles fine crumbs.
- Make a well in the centre and pour in the buttermilk. Quickly work everything into a soft dough. Line a baking tray with parchment paper and preheat the oven to 225 °C.
- Roll out the dough on a floured work surface into a square about 20 cm on each side. Cut into 16 small squares, each about 5 cm wide. Place the dough pieces onto the prepared tray.
- Bake the rolls in the oven for 15–20 minutes (Gas Mark 4; fan 200 °C), until lightly golden. Remove from the tray and serve warm.
Nutrition
Notes
Tried this recipe?
Let us know how it was!Closing Thoughts
This recipe for Buttermilk Bread Rolls is one of those little treasures that prove you don’t need fancy ingredients or complicated steps to enjoy homemade bread. It’s proof that with just a handful of pantry staples, you can create something heart-warming and satisfying.
Whenever I bake these, I think of Oma’s kitchen – a place where the table was always full of food, laughter, and love. I hope you’ll bring a bit of that spirit into your own home by baking these rolls.
If you try this recipe, I’d love to hear how you served them – with soup, at breakfast, or maybe as a quick snack? Share your experience in the comments below and let’s keep Oma’s tradition alive!